Create and manage report configurations

If you find you generate the same report on a routine basis, consider saving the report's settings as a report configuration. Doing so allows you to quickly generate the same report without having to configure the report's settings each time. Add a schedule to a report configuration to automatically generate the report on a daily, weekly, or monthly basis.

Create a report configuration

To create a report configuration, follow these steps:

  1. Go to Reporting > Saved Configurations.
  2. Select + Create Configuration.
    The Create Configuration page is displayed.
  3. Select a Report Type.
  4. Enter a Report Name.
    Report configuration names must be unique, are limited to 240 characters, and can include special characters.
  5. (Optional) Select Append date to report name: to add a date suffix to the report name each time you run the report configuration.
  6. To create a report configuration for all applications and projects in your organization, leave the All applications and projects (default branches/profiles only) option selected.
  7. Adjust the scope of the report:
    • All applications and projects (default branches only) (default): Include data from all the applications and projects in your portfolio that you have access to. Only includes issues from default branches.
    • Applications, projects and branches/profiles matching specific filters (non-IDE branches only): Set up a filter to select the applications, projects, and branches (not IDE) to include in the report. After you select this option, select Manage Scope. Use the options in the Manage Scope window to set up your filter, and preview the applications, projects, and branches the filter selects on the right. If using branch labels, you can use the checkboxes under Labels to refine your selection. Click Save.
      Note: If you want to include IDE branches in your filter, select the next option.
    • Specific project branches/profiles: Select specific applications, projects, and branches to include in the report. After you select this option, select Manage Scope. Use the options in the Manage Scope window to select the branches to include in the report. If using branch labels, you can use the checkboxes under Labels to refine your selection. After you adjust a filter, use the checkboxes in the Branch/Profile column to select branches to include in the report. Click Save.
  8. Select at least one testing tool from the Test Type options.
  9. (Optional) Schedule the report configuration to run automatically:
    1. Select Edit Schedule.
    2. Use the options on the Schedule window to specify when the report configuration will run (Daily, Weekly, or Monthly), the time report generation will start, and the day(s) of the week/month when the report configuration will run.
      Note: Remember, it can take up to 60 minutes for data from a test to be available to create a report. Scheduling report configurations to run outside of your organization's active hours (and after automated tests run) may improve results.
    3. Select Save.
  10. Select Save > Save.
    Tip: You can run the report configuration when you save your changes (Save > Save and Run) or run the report (using the options on screen) without saving a report configuration (Save > Run).

Create a report configuration using a completed report

After you run a report, you can save the completed report's configuration as a report configuration. To create a report configuration based on a completed report, follow these steps:
  1. Go to Reporting > Latest Reports.
  2. Click the options icon at the end of a completed report's row and select Save Configuration.

Run a report configuration

To create a report using a report configuration, follow these steps:

  1. Go to Reporting > Saved Configurations.
  2. Click the options icon at the end of the report configuration's row and select Run.
    The Latest Reports tab opens.

Duplicate a report configuration

To duplicate a report configuration, follow these steps:

  1. Go to Reporting > Saved Configurations.
  2. Click the options icon at the end of the report configuration's row and select Duplicate.
    The Duplicate Configuration page opens.
  3. (Optional) Adjust the report configuration's Report Type, Report Name, Scope, or other options.
  4. Select Save > Save.
    Tip: You can run the report configuration when you save your changes (Save > Save and Run) or run the report configuration and discard your changes (Save > Run).

Edit a report configuration

To edit a report configuration, follow these steps:

  1. Go to Reporting > Saved Configurations.
  2. Select the report configuration you wish to modify.
  3. Adjust the report configuration's Report Type, Report Name, Scope, or other options. Select Edit Schedule to add or modify the report configuration's schedule.
  4. Select Save > Save.
    Tip: You can run the report configuration when you save your changes (Save > Save and Run) or run the report configuration and discard your changes (Save > Run).

Add or modify a report configuration schedule

To add or modify a schedule, follow these steps:

  1. Go to Reporting > Saved Configurations.
  2. Click the options icon at the end of the report configuration's row and select Schedule.
  3. Use the options on the Schedule window to specify when the report configuration will run (Daily, Weekly, or Monthly), the time report generation will start, and the day(s) of the week/month when the report configuration will run.
    Note: Remember, it can take up to 60 minutes for data from a test to be available to create a report. Scheduling report configurations to run outside of your organization's active hours (and after automated tests run) may improve results.
  4. Select Save.

Changes to the report scope

The report scope determines what data is included in a report configuration. If an application, project, branch, or label in the report scope is deleted, the report configuration becomes invalid. If you try to re-run the report configuration, the report status changes to Failed and the report does not run. Any scheduled runs of the report configuration will also fail. You get the following error: “Report failed due to an invalid scope. Update your configuration and run the report again”.

The Latest Reports tab showing a report with a status of Failed and an invalid scope error message on hovering over.

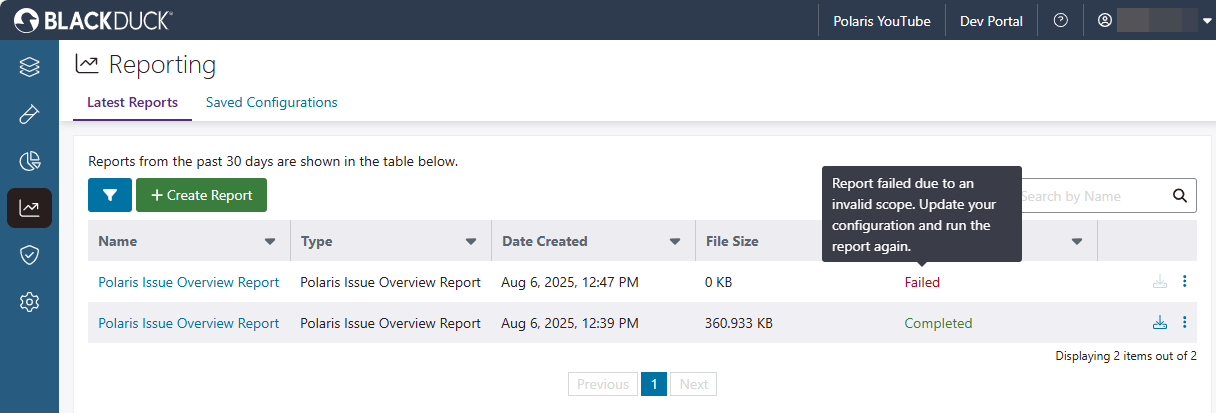
The same error is shown if an application, project, or branch in the report scope was renamed.

To resolve an invalid scope error, follow these steps:

  1. Go to Reporting > Saved Configurations.
  2. Select the report configuration for the report that failed to run.
  3. Click Manage Scope.
  4. In the Manage Scope window, edit the filter criteria to remove the object that was deleted.
    Tip: For example, if label-a was deleted but is still included in the report scope, deselect the label-a checkbox in the Labels section of the filter.
  5. Click Save to save your updates to the report scope.
  6. Click Save > Save and Run to re-run the report configuration.

Delete a report configuration

To delete a report configuration, follow these steps:

  1. Go to Reporting > Saved Configurations.
  2. Click the options icon at the end of the report configuration's row and select Delete.
    A confirmation appears.
  3. Select DELETE.
    Note: If you delete a report configuration while it's being used to create a report, the report may fail.